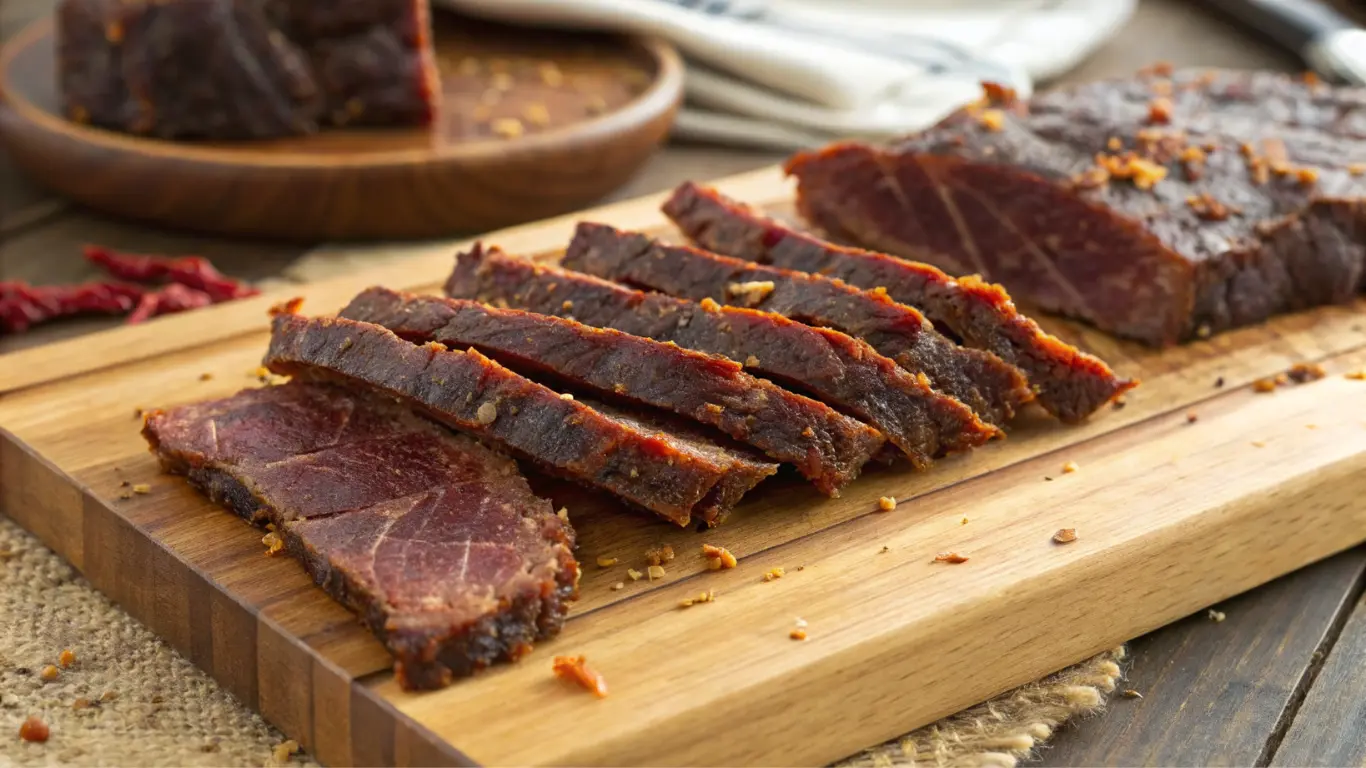
Best Ground Beef Jerky in Oven – Simple & Delicious!
Making ground beef jerky in oven isn’t just easy—it’s downright addictive. Whether you’re a jerky newbie or a seasoned snacker looking for a homemade twist, this guide walks you through everything you need to know. From picking the right beef to oven-drying tips, storage hacks, and flavor variations, we’ve got all the tasty details.
This article breaks down the step-by-step process, shows you how to avoid rookie mistakes, and even answers your most burning jerky questions. Oh, and did we mention? You don’t even need a dehydrator!
Let’s dive into the chewy, savory world of homemade oven beef jerky—starting with why this method is such a game-changer.
Table of Contents
Why Make Ground Beef Jerky in the Oven?
Benefits of Oven-Dried Jerky
Let’s face it—jerky in the oven is a total win for home cooks. No fancy gadgets? No problem. Your oven does the job like a pro. It’s fast, consistent, and lets you control every part of the drying process. Plus, you won’t need to break the bank on a dehydrator.
With the ground beef jerky in oven method, you get a snack that’s not only rich in flavor but also easy on the jaw. It’s softer and easier to chew than traditional whole muscle jerky, making it perfect for kids or anyone who’s not a fan of the tough stuff.
Ground Beef vs Whole Muscle Jerky
Traditional jerky is sliced from cuts like top round or brisket. Tasty? Sure. But it can be tough, pricey, and time-consuming. Ground meat jerky skips the slicing and tenderizing, saving you both time and effort. It’s also way easier to mix flavors evenly, and it binds together beautifully when done right.
So if you’re craving homemade jerky with fewer steps and all the flavor, ground beef is where it’s at. Add in the convenience of your oven, and you’ve got a winning combo that’s hard to beat.
Choosing the Right Ground Beef for Oven Jerky
Fat Content: Why 10% or Less is Ideal
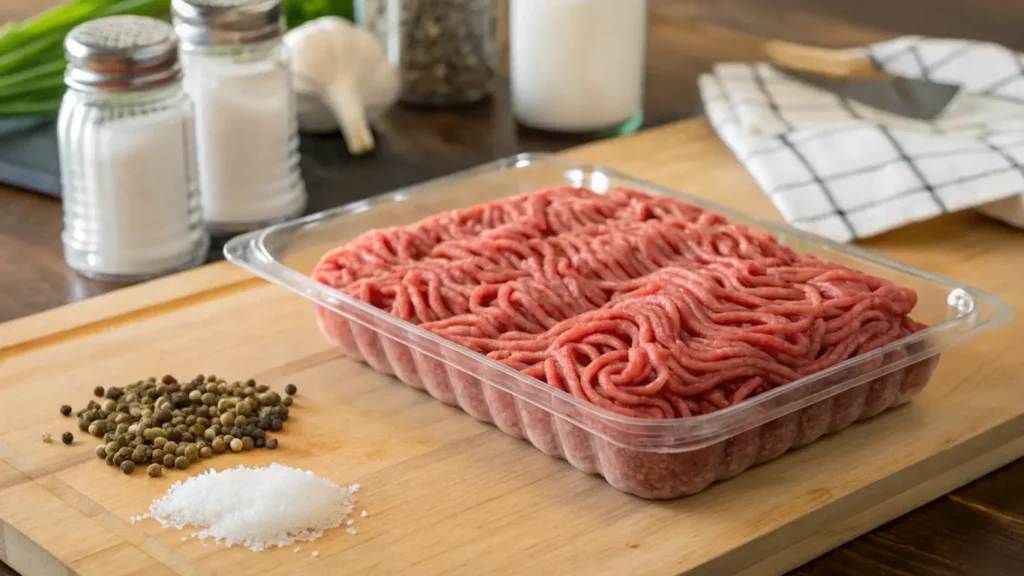
When making ground beef jerky in oven, your meat choice is everything. And fat? It’s not your friend here. Ground beef with more than 10% fat can cause greasy jerky, uneven drying, and a much shorter shelf life. That’s because fat doesn’t dehydrate—it just sits there, waiting to spoil your hard work.
Instead, go lean. Look for labels like “90/10” or “93/7.” These numbers tell you how much lean meat vs. fat is in the mix. Less fat means safer, longer-lasting jerky that still packs a punch in flavor. Plus, it helps the jerky bind better, making it less crumbly and more enjoyable to eat.
Lean Cuts vs Regular Ground Beef
Sure, regular ground beef is cheaper—but you might pay the price later. It often has more fat and filler, which can mess with both the taste and texture of your jerky. If you’re serious about quality, consider grinding your own lean cuts like sirloin or eye of round. That way, you know exactly what’s going in.
On a budget? Don’t worry. Store-bought lean ground beef works great, too. Just avoid blends with too much fat or added fillers. And always read the label!
When your beef is on point, your jerky will be, too. Up next, let’s gear up with the tools you need to make this process smooth and simple.
Essential Equipment for Oven Jerky Success
Must-Haves: Baking Sheet, Parchment Paper, Rolling Pin
You don’t need a fancy setup to make ground beef jerky in the oven, but a few basics will make life easier. First, grab a large baking sheet. This is where your jerky will take shape. Line it with parchment paper—this keeps things clean and helps prevent sticking.
Next, grab a rolling pin or even a smooth bottle. Why? Because rolling the meat flat ensures even thickness, which means even drying. Aim for about ¼ inch thick.
And don’t forget a dull knife or pizza cutter to score the meat. Pre-scoring makes it a breeze to break apart later, no shredding required.
Optional but Helpful: Jerky Gun, Cooling Rack, Thermometer
If you’re making jerky often, a jerky gun is a total game-changer. It lets you pipe out perfect strips with minimal mess. Not required—but super handy.
A metal cooling rack also helps. It allows air to circulate around the jerky, speeding up drying and keeping it from sitting in grease. Just place it over your baking sheet.
Lastly, a meat thermometer ensures safety. Jerky should hit 160°F internally before you start drying it. No guessing—just tasty, safe-to-eat jerky every time.
Ingredients Breakdown – Flavor, Safety & Texture
Classic Ingredients for Bold, Balanced Flavor
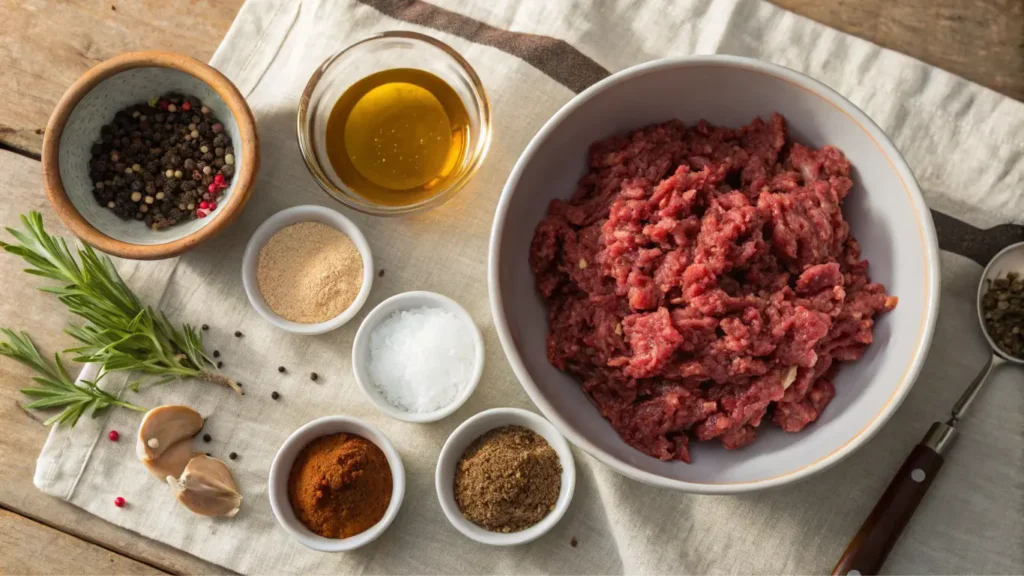
At the heart of any ground beef jerky in oven recipe lies a mix of sweet, smoky, and spicy ingredients. Start with the basics: kosher salt, black pepper, brown sugar, garlic powder, and onion powder. These flavors form a reliable foundation that works well with just about any jerky style.
Next, liquid smoke. Just a few drops add that mouthwatering grilled flavor—without firing up a smoker. For heat lovers, cayenne pepper or chili flakes can kick things up a notch. Want more depth? Try Worcestershire or soy sauce for a rich, umami punch.
Curing Salt, Binders, and Texture Boosters
Let’s talk safety and shelf life. Prague Powder #1, a curing salt, helps prevent bacterial growth and gives jerky its classic cured flavor. It’s not optional if you want your jerky to last more than a few days without refrigeration.
You’ll also see corn syrup solids in some recipes. They help bind the meat, making your jerky soft, flexible, and less likely to crack. Don’t have it? No worries—you can skip it, though your texture might be slightly drier.
For low-carb eaters, you can swap brown sugar with alternatives like monk fruit or erythritol. The flavor changes a bit, but the results are still crave-worthy.
For more easy flavor-packed ideas using ground beef, check out our 3-Ingredient Ground Beef Recipes. You’ll find more ways to spice up your beef game in the kitchen!
Step-by-Step Guide to Making Ground Beef Jerky in the Oven
Mixing Your Marinade and Binding Properly
Now that you’ve got the ingredients ready, it’s time to bring them together. In a large bowl, mix your dry spices and liquids first. Then add the lean ground beef—about 1 pound per batch works great. Use your hands (or a stand mixer with a paddle) to combine everything until it’s fully mixed. The meat should feel tacky, almost like dough.
If using curing salt, be sure it’s well-dissolved in water or liquid smoke first. This helps distribute it evenly and safely.
Wrap the beef mixture tightly in plastic and let it sit in the fridge for at least 6 hours—overnight is better. This chilling step helps the flavors develop and gives the meat time to bind properly.
Rolling Out the Meat and Cutting Strips Evenly
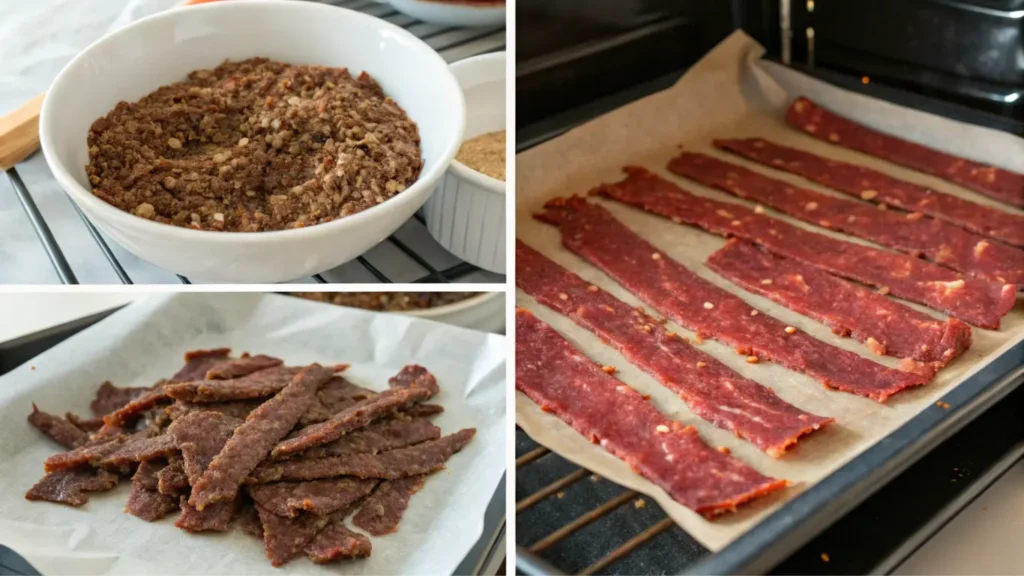
Once chilled, place your mixture between two sheets of parchment paper. Roll it flat using a rolling pin until it’s about ¼ inch thick. Try to keep the thickness even—this ensures your jerky dries consistently in the oven.
Use a pizza cutter or dull knife to score the meat into 1-inch wide strips. These will separate easily once dried. Pro tip: Scoring before baking makes post-cook slicing a breeze.
Oven Setup: Temperature, Rack Placement, and Door Crack
Preheat your oven to 170°F (or the lowest setting it allows). Line a baking sheet with foil and place a cooling rack on top if you have one. Lay the jerky strips on the rack with a bit of space in between for airflow.
Slide the tray onto the middle rack of the oven and prop the oven door open slightly with a wooden spoon. This lets moisture escape, helping the jerky dry instead of bake.
Flip Timing, Drying Duration, and Testing Doneness
After about 2 hours, flip the strips gently and blot any moisture with paper towels. This helps speed up the drying and keeps your jerky from turning soggy.
Continue drying for another 1.5 to 2 hours. Start checking the jerky around the 3.5-hour mark. You want it dry but still bendy—if it snaps like a cracker, it’s overdone.
And just like that, your ground beef jerky in oven is ready to cool and snack on!
Storage, Shelf Life, and Safety Tips
How Long Does Homemade Jerky Last?
Once you’ve made your delicious ground beef jerky in oven, proper storage becomes key. If you used curing salt and dried the jerky well, it can last up to 2 weeks at room temperature. But to stay on the safe side, especially in warmer climates, stash it in the fridge.
Not using curing salt? Then it’s best to eat your jerky within 3 to 5 days and always keep it refrigerated. Better safe than sorry, right?
Vacuum Sealing and Refrigeration Tips
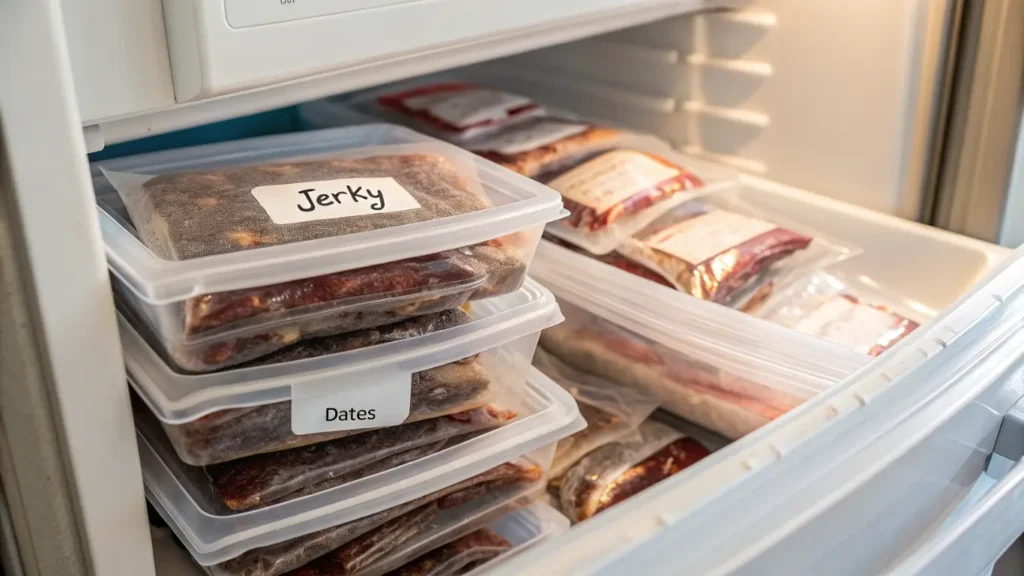
To stretch shelf life even more, vacuum sealing is your best friend. It removes air—jerky’s biggest enemy—and keeps your snack fresh longer. You can store vacuum-sealed jerky in the fridge for a month or in the freezer for up to 6 months.
Use small, snack-sized bags so you’re not opening the same pack over and over. And always label your bags with the date—future you will thank you.
If vacuum sealing isn’t an option, airtight containers or zip-lock bags with a paper towel to absorb moisture will work. Just be sure to check regularly for signs of spoilage, like mold or off smells.
Flavor Variations and Customization Ideas
Hot & Spicy, Smoky, or Sweet Profiles
One of the best things about making ground beef jerky in oven is the flavor flexibility. You’re not stuck with plain salt and pepper—unless that’s your jam. Want heat? Add cayenne, crushed red pepper, or even chipotle powder. Like it sweet? Brown sugar, honey, or maple syrup bring a delicious contrast to savory beef.
If you’re a fan of bold smoke, go heavier on the liquid smoke or add smoked paprika for an extra layer. Garlic-lovers can double up on garlic powder or even add minced garlic for a deeper bite.
Low-Carb or Sugar-Free Jerky Variants
Watching your carbs? No worries. You can totally skip the sugar and still have amazing jerky. Use soy sauce, vinegar, or Worcestershire for flavor. Then, punch it up with herbs and spices—think rosemary, thyme, or mustard seed.
For a keto-friendly jerky, opt for sugar-free seasoning blends and lean beef. Just avoid artificial sweeteners that leave an aftertaste.
If you’re feeling adventurous, try international flavors—teriyaki for an Asian twist, Cajun seasoning for Southern flair, or even taco seasoning for a zesty kick.
Seriously, once you get the hang of it, you’ll be coming up with your own signature jerky recipe in no time.
Common Mistakes to Avoid
Over-Drying or Cracking Texture
It happens to the best of us. You check your ground beef jerky in oven one minute too late—and suddenly it’s more like beef chips than jerky. Over-drying is one of the most common slip-ups. Jerky should bend, not break. To avoid this, always start checking it around the 3.5-hour mark. And don’t forget: it keeps drying a little even after it’s out of the oven.
Skipping the Curing Step or Using Too Much Salt
Another big mistake? Skipping curing salt altogether—or going overboard with regular salt. If you want your jerky to be shelf-stable, curing salt (like Prague Powder #1) is a must. It helps kill harmful bacteria. But too much salt? That just leads to overpowering flavor and a dry texture. Measure carefully and follow the recipe closely.
By steering clear of these mistakes, you’ll end up with jerky that’s flavorful, chewy, and totally snack-worthy.
Final Thoughts and Tasty Serving Suggestions
Jerky as a Protein-Packed Snack
After all’s said and done, ground beef jerky in oven is one of the easiest, most satisfying snacks you can make at home. It’s high in protein, low in junk, and completely customizable to your taste. Whether you’re meal-prepping for the week or just craving something chewy and savory, oven jerky hits the spot—every single time.
Pairing with Cheese, Trail Mix, or On-the-Go Snacks
Need snack ideas? Pair your homemade jerky with sliced cheese, hard-boiled eggs, or a handful of trail mix for a quick, energy-boosting combo. It also travels well, making it perfect for hikes, road trips, or office munchies.
If you’re feeling creative, try chopping it into salads or wrapping it in lettuce with some mustard for a high-protein wrap.
So there you have it—ground beef jerky in oven, made simple, tasty, and totally yours.
FAQs
Q: Can you make beef jerky in your oven?
Yes, you definitely can! In fact, making beef jerky in your oven is one of the easiest methods for beginners. You don’t need a dehydrator or smoker—just a baking sheet, some parchment paper, and a little patience. As long as your oven can hold a low temperature (around 170°F), you can turn it into a DIY jerky machine.
Q: How long to dehydrate ground beef in the oven?
To dehydrate ground beef jerky in oven, it usually takes about 3.5 to 4.5 hours. The exact time depends on how thick your strips are, how evenly the meat is rolled out, and how well your oven circulates air. Around the 3.5-hour mark, start checking for doneness by bending a strip—if it bends without breaking, it’s done!
Q: What temperature for ground beef jerky?
For the best results, set your oven to 170°F (or the lowest temperature it allows). This low heat slowly removes moisture from the beef without cooking it too fast. It also helps preserve the meat’s texture and flavor. Be sure to crack the oven door slightly to let moisture escape.
Q: How to dry ground beef jerky in the oven?
Drying ground beef jerky in oven is simple:
Preheat your oven to 170°F.
Spread your seasoned, rolled-out ground beef on parchment paper or a wire rack.
Place it on the middle oven rack.
Prop the oven door open slightly with a wooden spoon to allow airflow.
Dry for 3.5 to 4.5 hours, flipping halfway and blotting any moisture.
Once the jerky is dry to the touch and bends without snapping, it’s ready to cool and enjoy.
Conclusion
Making ground beef jerky in oven isn’t just a fun kitchen project—it’s a total game-changer for snack lovers. With a handful of ingredients, a little prep, and your trusty oven, you can create jerky that’s miles better than anything store-bought. It’s chewy, flavorful, protein-packed, and fully customizable.
Whether you’re craving something spicy, smoky, or a little sweet, this guide has shown you just how simple it is to make jerky your way. And the best part? You don’t need fancy tools or expert skills—just some lean ground beef, bold seasonings, and a little time.
So next time that snack craving hits, skip the store aisle. Fire up your oven and whip up a batch of homemade jerky that’s simple, delicious, and totally satisfying.
Happy jerky-making!

